


Serato Sampler article
Serato Sampler for Beginners: A Complete Guide
New to Serato sampling? This guide walks you through loading audio, slicing it, triggering samples, layering multiple sounds, and creating your first track with Serato.
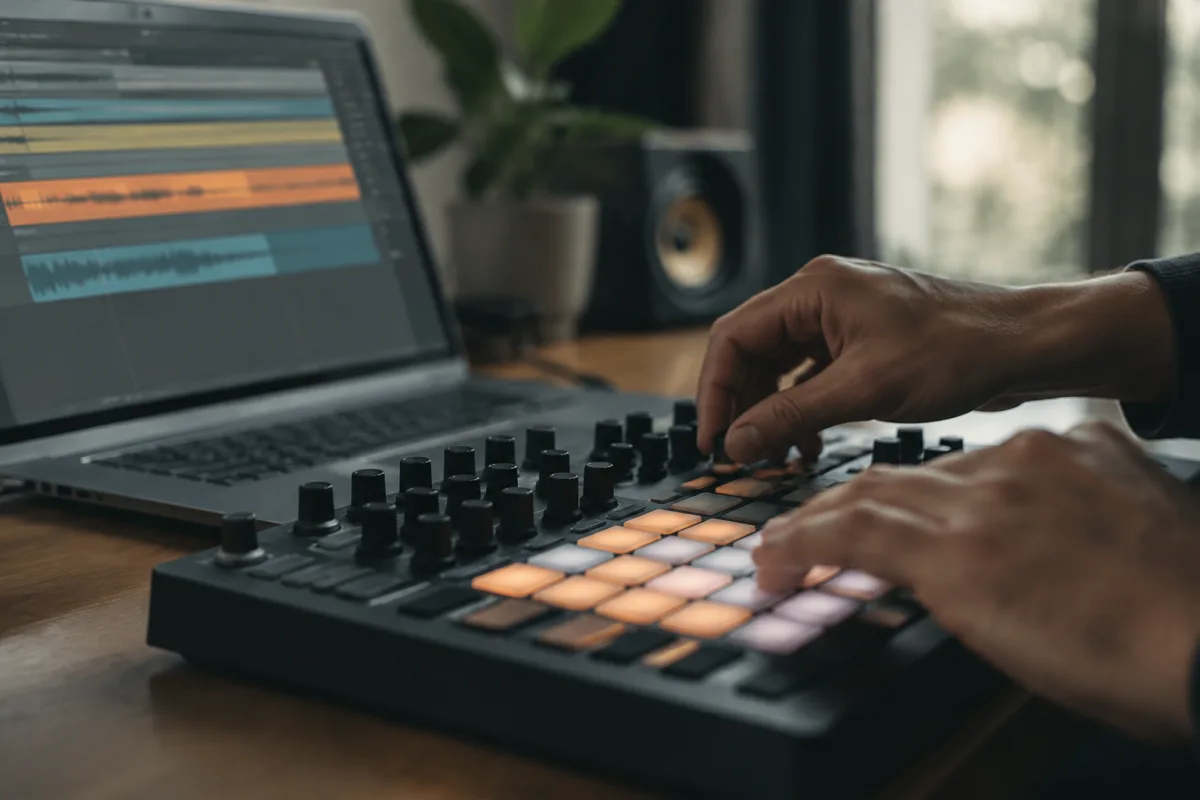
Your First Steps With Serato's Sampling Tools
If you're new to electronic production and sampling, Serato's sampling capabilities might look complicated at first glance. The software offers powerful tools, but the fundamentals are surprisingly approachable. Within an hour of experimentation, you'll be loading sounds, chopping them up, and creating new grooves. This guide walks you through the essentials so you can start sampling confidently.
Whether you're using Serato Studio, Serato DJ Pro, or Serato Studio Lite, the core sampling concepts remain consistent: load audio, slice it, manipulate it, and trigger it as music.
Understanding What Sampling Does
Sampling means capturing a piece of audio—a drum break, a vocal phrase, a horn stab—and making it playable as a musical instrument. You can trigger samples at different pitches, chop them into smaller pieces, add effects, and layer them into new compositions. Sampling is the foundation of hip-hop, electronic music, and contemporary production.
Serato's tools make sampling accessible without dumbing it down. You get real power whilst staying intuitive enough for beginners.
Loading Audio Into Serato
Start with a sound you actually like—find an mp3 or wav file on your computer, something under 30 seconds long for your first experiment. Drag it directly into Serato's interface or use the file browser to locate it. Serato processes the audio automatically and displays a waveform—a visual representation of the sound.
That waveform is your map. High peaks are loud parts; flat sections are quiet. You'll use this to find interesting sections to sample.
Slicing: Breaking Audio Into Usable Pieces
Most of Serato's sampling happens in the sampler section. Select the audio you've loaded, then use the slice or cue tools to mark sections you want to isolate. Think of slices like cutting a loaf of bread—you're dividing the audio into separate pieces you can trigger individually.
Mark the start and end points of a section that interests you (usually 1–4 bars of music). Name it something memorable if the software allows. Now that slice is playable as its own instrument. Press a key or controller pad and the slice plays.
Pitch and Playback
Once you've sliced audio in Serato, you can play slices at different pitches using your MIDI keyboard or controller. Press keys on your keyboard and each one plays the same slice at a different pitch. This instantly turns your sample into a musical instrument.
Slowing down or speeding up playback is common—Serato handles this automatically whilst maintaining pitch. You can also lock pitch so samples stay in key or detune them deliberately for creative effect.
Layering and Combining Samples
Load multiple audio files into separate tracks or channels within Serato. Play them together and build up layers—a drum break on one channel, a bass sample on another, a vocal phrase on a third. Use your MIDI controller to play each layer and create arrangements by turning them on and off or triggering specific slices.
This is where sampling becomes music-making. You're not just playing one sound—you're curating and combining multiple pieces into something new.
Effects and Processing
Serato includes effects like reverb, delay, filters, and distortion. After you've got samples triggering comfortably, experiment with adding an effect to one layer—say, reverb on a vocal sample. Turn the effect on and off whilst playing to hear the difference. Effects are optional; many great productions use none. Don't force effects just because they're available.
Recording Your Session
Serato can record what you're playing in real-time. Hit record, perform your combination of samples (play slices, trigger layers, add effects), and Serato captures it as audio. You now have a finished piece you can save, edit further, or share. This is how producers turn sampling sessions into finished tracks.
Common Beginner Mistakes With Serato Sampling
Loading audio that's too long. Start with clips under 30 seconds. Long audio is harder to slice meaningfully and clutters your workspace.
Trying to use every effect immediately. Focus on getting samples triggering cleanly. Effects come later.
Slicing too granularly. You don't need 100 tiny slices. Mark 3–5 interesting sections per audio file. Quality over quantity.
Not checking your audio levels. Distorted samples sound terrible. Use Serato's metering to ensure you're recording at safe levels without clipping.
Forgetting to save your work. Serato has autosave, but manually save your projects regularly. A crash with unsaved work is painful.
First Session: What to Create
Load three audio samples you like. Slice 2–3 interesting sections from each. Spend 20 minutes layering them together and playing different combinations. Add one simple effect to one layer. Record a 30-second performance. That's a complete sampling session and you've learned the fundamentals.
Building Your Sampling Library
As you get comfortable, start collecting audio you enjoy—break beats, vocal clips, horn sections, weird sounds. Build a personal library you can reach for when you want to create. Serato makes organizing and retrieving samples straightforward once you've done it a couple of times.
For a deeper understanding of sampling history, techniques, and how Serato fits into broader production workflows, explore our complete guide to sampling with Serato.
Confidence and Experimentation
Serato's sampling tools reward experimentation. You can't really break anything—the software restores original audio if you mess up, and undo is always available. Make weird choices, listen to what happens, and learn by doing. Within a week, sampling in Serato becomes intuitive.


Comments