


Akai Sampler article
Akai Sampler for Beginners: A Complete Guide
Learn how to get started with an Akai sampler confidently. This beginner's guide covers setup, first recording, common pitfalls, and a simple workflow to create your first loop.
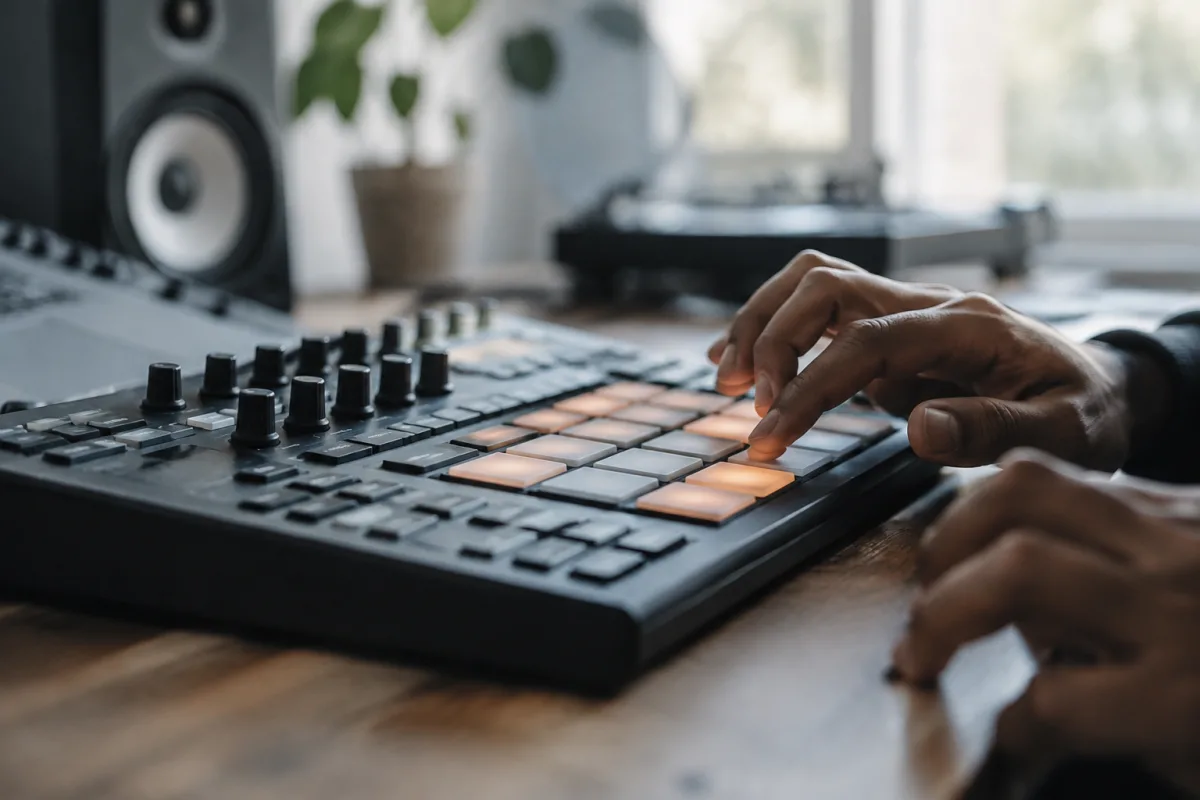
Getting Started with Akai Samplers: Your First Steps
An Akai sampler is an incredible creative tool, but the first few hours can feel daunting. This guide walks you through the essential first steps for using an Akai sampler, common mistakes to avoid, and how to get confident without the overwhelm.
Before You Begin: What You'll Need
Beyond your Akai sampler, you'll need just a few things to start making music. A basic audio interface (USB audio interfaces start around £50–80) lets you record sounds into an Akai sampler. A pair of headphones or studio monitors lets you hear what you're creating. A microphone is optional but useful for recording your own vocal samples and drum hits.
Most importantly, use fresh batteries or keep the power cable nearby. The device won't save your work if power dies mid-session. Modern USB-powered models solve this, but always back up your projects.
First Session: Keep It Simple
Don't try to learn everything at once. Start by loading a preset bank that comes with your Akai sampler — all models ship with dozens. Spend 30 minutes just playing with pads, listening to the preset sounds, and getting comfortable with the feel of the machine. This is your introduction; your brain needs time to match button presses to sounds.
Next, use the built-in drum patterns. Most models include pre-made drum loops. Hit play, hear the rhythm, then tap some pads to add bass and melody over the top. You've just made a song. Seriously — that's how easy it can be to start.
Recording Your First Sample
Now for the magic: recording your own sound into an Akai sampler. This is where many beginners stumble. The process on an Akai sampler is simple but has two easy gotchas.
Step 1: Route audio into the device. Plug a microphone or line-level source (keyboard, synth, audio interface) into the audio input. Set the input level low — roughly -12 dB to -6 dB on the meter. Too loud causes digital distortion that ruins the sample. Too quiet means it won't trigger properly. Start conservatively.
Step 2: Assign to a pad. Select an empty pad and assign recording to it. Press the pad to start recording, play or sing into the mic, then press the pad again to stop. Congratulations — you've captured sound into your device.
Step 3: Play back and trim. Use the start and end trim points to remove unwanted silence or clicks at the edges. A 10-second sample you recorded might become a 2-second loop once you trim it. This is normal and good.
Five Common First Mistakes
Beginners often make predictable errors. Knowing these in advance saves hours of frustration.
- Forgetting to save. You've created something amazing, then power cuts or you accidentally clear the pads. Always save your project — look for "Save Project" in the menu after each session.
- Recording too loud. Digital distortion is ugly and cannot be undone. Record at -12 dB to -6 dB and boost later if needed. Quiet samples are always recoverable; blown-out ones are trash.
- Using only presets. Presets are training wheels; they're not your voice. Record something — anything — even if it sounds rough. Your best work starts with a sample only you created.
- Ignoring the manual's quick-start section. Your device's manual has a 5-page "Getting Started" section. Read it. The menu layout and button naming vary between models, and the manual is faster than YouTube tutorials.
- Trying to multitrack before you can loop. Many beginners want to stack 16 layers of samples. First, learn to record one good sample, chop it into a loop, and layer two or three sounds. Once that clicks, adding more depth is straightforward.
Your First Real Loop
Here's a workflow for your first complete song loop:
- Record a drum hit (kick, snare, hi-hat) into a pad. Keep it short — under 2 seconds.
- Set the pad to loop mode and adjust the loop point so it repeats cleanly without clicks.
- Record a bass line or melody into another pad. Keep it 4–8 bars long.
- Tap both pads together. If they sync, adjust the loop points and levels so the loop breathes as one unit.
- Record a third layer — chords, texture, or more percussion — to add depth.
- Save the project. Now you have your first genuine song idea.
Hands-On: Play with Effects
Most models include built-in effects — reverb, delay, filter, bit crusher. Don't worry about understanding them yet. Pick an effect, turn the knob, and hear what happens. Effects are the fastest way to make rough samples sound polished. A simple reverb or delay can transform a quiet vocal sample into something lush and professional.
When Things Go Wrong
If your pads stop responding, memory fills up, or audio won't record, the fix is usually a power cycle — turn off the device, wait 10 seconds, turn it back on. This clears the buffer and solves 90% of beginner issues. If that doesn't work, the user manual has a troubleshooting section. Keep the manual nearby for your first week.
Building Confidence
Using the device for the first time is exciting and occasionally frustrating in equal measure. The key is to start with one sample, one loop, and one goal per session. By week two, you'll feel comfortable navigating the menu. By week four, you'll have created ideas worth sharing. Every pro started here — confused, curious, and ready to make something.
For a deeper dive into technique and creative possibilities, explore the complete guide to Akai samplers, which covers advanced workflows, production techniques, and the full range of what the device can do.


Comments