
Play Record Player article
The Complete Guide to Play Record Player
Discover how to play a record player with this comprehensive guide. From setup through proper technique, master the essential steps to enjoy vinyl without damaging your records.
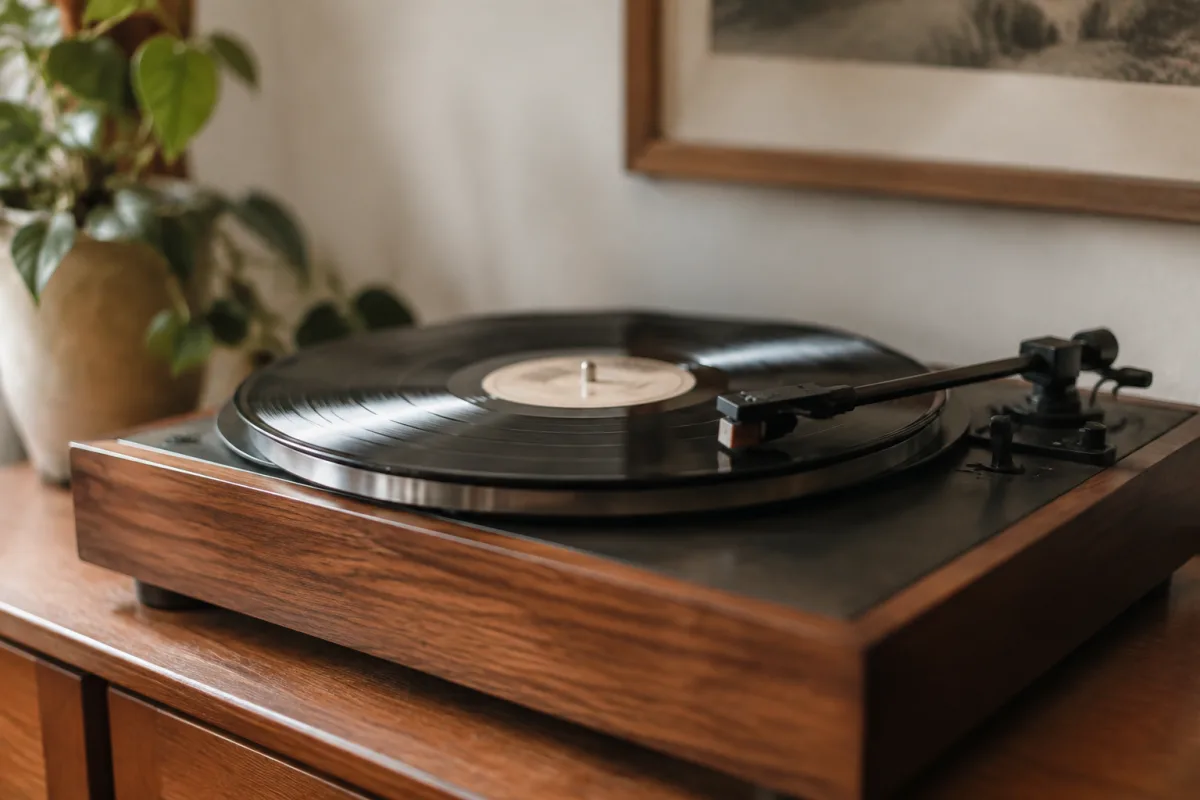
Learning how to play a record player transforms it from an intimidating antique into an intuitive, tactile source of music enjoyment. Whether you've inherited a vintage turntable or recently purchased one, understanding the basic steps ensures you'll get clear sound from your vinyl records without damaging the precious grooves. This guide walks you through the essential process of playing a record player safely and confidently.
Setting Up Your Record Player
Before you attempt to play a record player, proper setup matters. Position your record player on a level, stable surface away from vibration sources—avoid placing it on washing machines, near speakers, or on unstable furniture. This prevents skipping, tonearm wobbling, and increased wear on your records. Most record players sit on dedicated stands or furniture designed to minimise external vibration interference.
Ensure your record player is connected to power and that any balance or tilt adjustments are properly calibrated. Many record players have a levelling bubble or small spirit level on the chassis; adjust the feet until the bubble centres. This critical step prevents the tonearm from drifting during playback, which would cause uneven wear and potential skipping when you play a record player with vinyl records.
Understanding Record Player Components
Familiarising yourself with key components prepares you to play a record player effectively. The platter—the circular metal or rubber platform—rotates at a precise speed (usually 33⅓ or 45 RPM). The tonearm is the counterbalanced stick extending over the platter that holds the stylus (needle). The stylus reads the record grooves; the cartridge converts physical vibrations into electrical signals sent to your amplifier or receiver. When you play a record player, each component works in concert to produce sound.
The controls on most record players include a power switch, speed selector (for different RPM options), and often a cueing lever that lifts and lowers the tonearm. Understanding what each control does prevents mistakes when you play a record player for the first time. Some record players include adjustable counterweight and tracking force controls—mechanical settings for advanced players, but beginners can usually use factory defaults.
How to Play a Record Player: Step-by-Step
- Choose your vinyl record: Select the record you wish to play from your collection. Check the record sleeve for any specific information about speed (usually 33⅓ RPM for albums) or special pressing details. Handle the record by its edges and the centre label area, never the playing surface.
- Power on your record player: Switch on your turntable and any amplifier or receiver connected to it. Allow approximately 10–15 seconds for the platter to reach full speed and stabilise. Attempting to play a record player before the platter reaches speed results in pitched-down sound and playback timing issues.
- Verify the correct speed: Confirm the speed selector matches your record—almost all albums are 33⅓ RPM. Singles and specialty recordings may be 45 RPM. Playing a record player at the wrong speed produces comical or distorted results that can strain your equipment and damage records.
- Clean the record if necessary: Inspect the record surface for visible dust or debris. Use a soft carbon fibre brush or proper record cleaning tool to gently remove surface particles. This prevents stylus contamination and improves sound quality when you play a record player.
- Place the record on the platter: Carefully set your record on the platter, ensuring the centre hole aligns with the spindle. The record should sit flat against the platter. If your record player includes a clamp or weight, secure it according to the manufacturer's instructions.
- Cue the tonearm: Lift the cueing lever or raise the tonearm manually if no lever exists. This lifts the stylus above the record surface. Slowly move the tonearm to your desired starting position—usually the beginning of the first track. Lower the tonearm gently using the lever or by hand, allowing the stylus to settle naturally into the grooves.
- Begin playback: Once the stylus rests in the groove, sound will emerge from your speakers or connected headphones. Most records begin with a brief period of silence or leader groove before the first track starts.
- Monitor playback: Listen for clear, balanced sound from both channels. If sound is muffled, distorted, or absent from one channel, the stylus may be dirty or damaged. Stop playback and investigate.
Essential Record Player Techniques
| Technique | Purpose | Best Practice |
|---|---|---|
| Cueing | Positioning the stylus at the desired track | Use the cueing lever when available; avoid dragging the stylus across the record |
| Tracking Force | Stylus pressure on the record groove | Factory defaults work well; excessive force increases wear on both stylus and record |
| Antiskate | Counteracts the tonearm's inward pull | Match antiskate value to tracking force for optimal playback |
| Stylus Cleaning | Maintains stylus clarity and record groove detail | Clean stylus weekly with a soft brush; avoid liquid solutions on the needle |
| Record Sleeve Return | Protects records from dust accumulation | Always return records to their sleeves immediately after playback |
Ending Your Record Player Session
When you finish playing a record player, proper shutdown protects your equipment and records. Raise the tonearm using the cueing lever and move it to its rest position. Stop the platter using the power switch. Allow a few seconds for the platter to slow completely before removing your record—resist the temptation to grab the record or manually stop it, as this stresses the motor and can scratch the vinyl.
Remove your record carefully and return it to its sleeve immediately. This prevents dust accumulation and keeps your collection in optimal condition for future playback. Some enthusiasts store records vertically in a proper record crate or shelf; always ensure records remain completely level—standing them at angles causes warping over months and years.
Common Mistakes When Learning to Play a Record Player
Beginners often make preventable errors when they first learn to play a record player. Touching the record playing surface transfers oils and dust to the grooves, degrading sound quality permanently. Dragging the stylus across the record without using the cueing lever causes deep scratches that create skips during playback. Leaving the stylus resting on a stationary record creates a permanent flat spot on the needle, destroying playback quality forever.
Playing a record player at the wrong speed seems obvious but happens surprisingly often, especially with older records that use non-standard speeds. Ignoring visible dust and debris on records forces stylus contamination that clogs the cartridge and transfers to your next record. Storing records horizontally or near heat sources warps the vinyl, making them unplayable and reducing the longevity of your collection.
Making the Most of Your Record Player
Once you master the basic steps to play a record player, explore additional features your specific model might offer. Some record players include variable speed adjustment for experimenting with pitch; others feature built-in preamps that eliminate the need for external amplifiers. Learning these features enhances your enjoyment without complicating the essential process of playing a record player.
Regular maintenance keeps your record player sounding excellent. Clean the stylus weekly, inspect the tonearm for any debris or damage, and verify the platter remains level and secure. A well-maintained record player remains an enjoyable music source for decades, rewarding careful handling and proper technique with consistently excellent sound quality.
Mastering how to play a record player opens a tangible, tactile connection to music that digital formats cannot replicate. The ritual of placing a record, lowering the tonearm, and hearing music emerge from grooves printed decades ago creates a unique listening experience—one that rewards the small care and attention required to play a record player correctly.


Comments