


Vinyl Record Wall Mount article
Vinyl Record Wall Mount for Beginners: A Complete Guide
Displaying your vinyl records on the wall looks stunning and frees up shelf space. This guide walks beginners through selecting mounts that actually work.
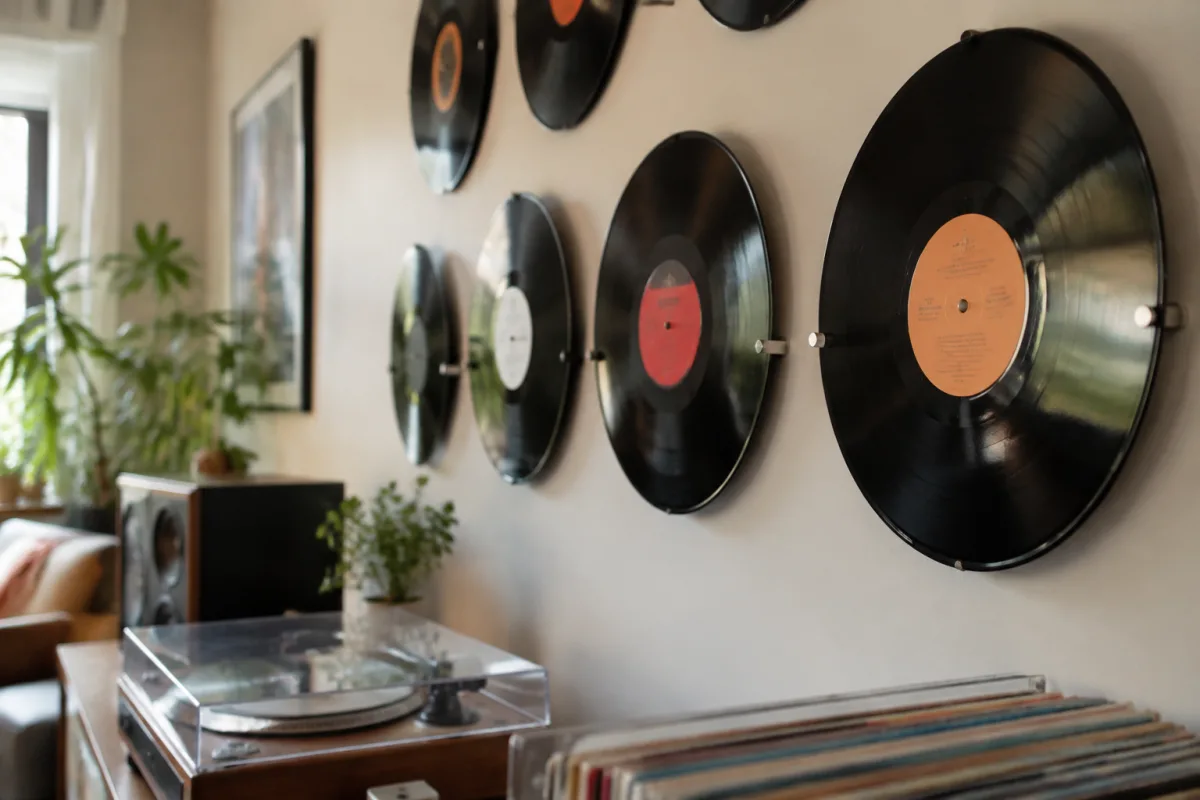
Displaying your vinyl records on the wall looks stunning and frees up shelf space, but choosing the right vinyl record wall mount can feel overwhelming if you're new to it. This guide walks beginners through selecting mounts that actually work, addressing common first-timer concerns, and showing you how straightforward this project genuinely is.
What Is a Vinyl Record Wall Mount and Why Beginners Love Them
A vinyl record wall mount is simply a bracket or holder that attaches to your wall, displaying your records horizontally or vertically whilst keeping them secure. Unlike stacking records (which risks damage), wall mounts showcase your collection as art while protecting your vinyl. The appeal for beginners is genuinely simple: beautiful display, space efficiency, and protection in one easy upgrade. You don't need engineering skills or specialized tools—most mounts screw directly into your wall using standard fasteners.
Beginner Fears About Vinyl Record Wall Mounts (Solved)
Common worry: will the mount damage my records? No—quality vinyl record wall mounts cradle your albums without applying pressure that warps or cracks them. Worry: is wall mounting difficult? Not remotely—if you've hung a picture frame, you can install a vinyl record wall mount. Worry: will my records fall off? Properly installed mounts grip records securely; falls are genuinely rare with quality models. Worry: won't my wall look cluttered? Thoughtfully displayed vinyl records actually look curated and intentional, not cluttered, when arranged with planning.
Types of Vinyl Record Wall Mounts Beginners Should Know
| Mount Type | How It Works | Best For | Beginner Considerations |
|---|---|---|---|
| Floating Shelves | Horizontal shelves hold records standing upright | Displaying larger collections, decorative arrangement | Requires more wall space and planning; most versatile option |
| Vertical Record Clips | Small clamps hold individual records vertically | Spot-lit album artwork, minimal displays | Simple installation; limited capacity per section |
| Album Holder Stands | Wall-mounted metal rails with supports | Large collections displayed accessibly | More complex installation; professional appearance |
| Corner Display Units | Purpose-built corner mounts for space efficiency | Small rooms, corner utilisation | Great for beginners in tight spaces; easy assembly |
The Easiest First Step for Beginners
Start simple: buy three to five vinyl record wall mount clips and display your favourite albums. This low-commitment approach costs £15–40, teaches you installation basics, and lets you experiment with placement before committing to larger shelving. You'll discover which arrangements you actually like without investing heavily. Many beginners regret starting with expensive elaborate systems—starting small builds confidence and eliminates costly mistakes.
Common Beginner Mistakes When Installing Vinyl Record Wall Mounts
First mistake: mounting too high. Hang vinyl record wall mounts at comfortable eye level—not ceiling-height where visibility suffers. Second mistake: ignoring wall studs. Drywall alone won't support heavy collections; locate studs and anchor into them for security. Third mistake: cramming too many records into tight mounts. Overcrowding damages jackets and makes albums difficult to retrieve—leave breathing room. Fourth mistake: using inappropriate fasteners. Cheap anchors pop out under weight; invest in proper hardware rated for your collection's weight.
Tools and Materials Beginners Actually Need
Here's encouragement: installation is genuinely simple. You'll need a power drill or basic screwdriver, a level (£5–15, invaluable for even mounting), and appropriate wall fasteners (your vinyl record wall mount package usually includes these). A stud finder (£10–20) prevents mounting failures—honestly the best beginner investment beyond the mounts themselves. That's it. No special skills, no expensive equipment, no professional installation needed. Weekend projects for beginners typically take 30–90 minutes start-to-finish.
Protecting Your Vinyl While Displaying It
Mounted records face climate exposure more than shelf-stored albums. Avoid direct sunlight causing jacket fading and vinyl warping—position mounts away from windows or use UV-filtering curtains. Maintain consistent room temperature; temperature swings warp vinyl. Dust occasionally with soft brushes; mounting makes cleaning straightforward. Quality vinyl record wall mounts keep records upright and secure, actively protecting them better than haphazard shelf storage most beginners default to initially.
Budget-Friendly Beginner Options
Entry-level vinyl record wall mount clips (£10–30 per clip) let beginners display 3–5 albums affordably. Mid-range floating shelves (£40–100 per shelf) accommodate 20–30 records in organised fashion. Premium custom installations (£150+) suit serious collectors optimising large spaces. Most beginners start budget and upgrade as their confidence grows—this approach prevents wasteful purchases and builds satisfaction through gradual improvement.
Starting Your Vinyl Display Journey Confidently
Your permission to start imperfectly: buy basic vinyl record wall mounts, install them this weekend, and adjust if needed. Holes in walls heal with spackling; there's no permanent mistake. Mistakes teach faster than perfect planning ever could. Online tutorials abound for installation help—communities of vinyl enthusiasts are bizarrely supportive of beginners. For comprehensive guidance on vinyl collection care and display principles, explore the complete guide to vinyl record wall mount options. Start now, learn as you go—that's genuinely the best approach.



Comments